Tomb of the Nameless Pharaoh
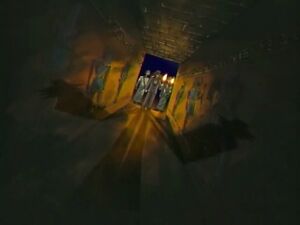
Located at the heart of the Valley of the Kings, the Tomb of the Nameless Pharaoh is the burial place of Pharaoh Atem, whose name was lost in history. The tomb is guarded by a series of game-like traps.
Contents
Burial of the Pharaoh[edit]
The Pharaoh defeated Zorc Necrophades using a spell which included his name, He then sealed him and Zorc in the Millennium Pendant, erasing his mind in the process to keep the spell from ever being used to resurrect Zorc.
The Millennium Pendant was shattered. Both the Pharaoh and the Pendant, now a Puzzle, were sealed within the tomb.
"Atem" is the key to unlock Zorc Necrophades, so all traces of the Pharaoh's name were erased from history to prevent Zorc from being released. Atem thus became known as "The Nameless Pharaoh".
Solomon Muto's visit[edit]
At the time of Solomon's visit in the 1960s, over 60 ancient tombs had been discovered in this valley, but no one had dared enter the inner chambers of the Pharaoh's tomb. The one person that did and survived was a villager known by Solomon's guides. He was driven mad and repeated the same phrase over and over: "The Shadow Game" (Yami No Game in Japanese).
Before reaching the end of Pharaoh Atem's Tomb and the Millennium Puzzle, Solomon Muto and his guides had to go through a variety of trapped rooms as the ancient treasure was well defended. Each room was treated like a "game", with the ultimate sacrifice awaiting those who lost: death.
Room 1: The Needle-Spitting Snake Statues[edit]
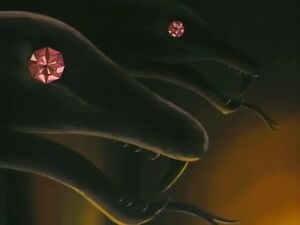
The first room Solomon Muto had to cross contained two giant snake statues: their eyes were encrusted with rubies, but it was just a gimmick to attract the greed of unwary adventurers, for their mouths were motion-activated traps that shot out deadly needles.
After he spotted the trap (by throwing out his toothpick/cigarette into the middle of the room), Solomon thwarted the danger by carefully avoiding the room's motion sensors.
Room 2: The "Invisible Ink" Tablet[edit]
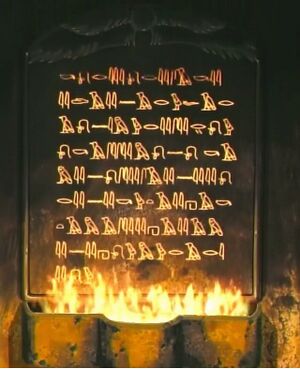
This room contained a giant statue of Horus and a seemingly blank Tablet. Upon closer examination however, there was a receptacle for tar just below the Tablet, which prompted Solomon to light it on fire with his torch. Like magic, poof: ancient hieroglyphs appeared on the Tablet:
- Beyond here lies the resting place of a great Pharaoh. Only those who show respect may enter. All others will be engulfed by the Pit of Shadows.
- (in the original Japanese, the tablet read "Ahead is the sleeping place of the great Pharaoh. Trespassers' bodies will be eaten and their souls will be thrown into the darkness")
Soon after, a passageway opened up in the ground, with stairs leading down to the next room.
Room 3: The Maze Across the Pit of Shadows[edit]
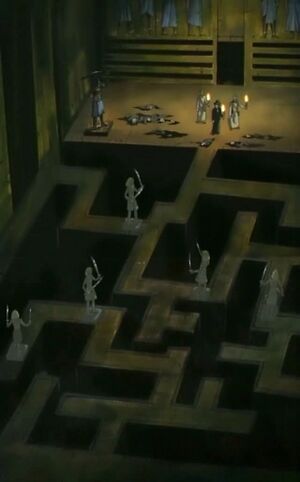
The North & South ends of this room were separated by a large chasm (the "Pit of Shadows"), with a narrow maze-like corridor providing the only way of reaching the exit. On top of this maze, big statues armed with scimitars blocked the passage. A pressure-sensitive switch also activated a moving spiked wall, a proper incentive to "motivate" hesitant adventurers.
The statues would activate and slash with their weapons if the traveler did not "show respect", which in ancient Egyptian ways meant putting your left foot forward (the heart is on the left side of the body, which meant facing the heart towards the Pharaoh). By doing so, Solomon Muto was able to cross the room, but lost one of his guides to the "Pit of Shadows" below during the process (in the original Japanese, the guide got stabbed by one of the statues).
Room 4: The Monster Bridge[edit]
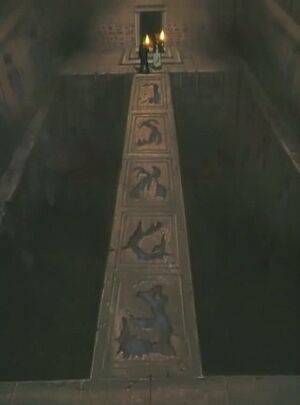
- Ye shall now be judged by the creatures of the stone. Only the pure of heart are permitted to pass, all others will lose their souls to the darkness.
- (NOTE: in the original Japanese, "The Ka residing in the tablets will judge you. Cowards' souls will be eaten. Warriors will be shown the way")
As he crossed the bridge, Solomon Muto was shot in the back by his other guide (with a gun in the Japanese, a slingshot in the English version), and wounded. However as the guide crossed the bridge himself, a Shadow Monster sensed his fear and attacked him ("swallowing" him alive in the original Japanese). The spirit of Pharaoh Atem then helped Solomon from his predicament, so that he could retrieve the Millennium Puzzle.
Shadow RPG[edit]
During the Dawn of the Duel story arc Yugi discovers the key to defeating Zorc, so he and his friends are forced to go through the Pharaoh's tomb and do everything Yugi's grandfather did in the 1960's. However, the group discovers another hidden room beyond the room where Grandpa Muto found the Millennium Puzzle. After being betrayed by Tristan (possessed by Yami Bakura) and escaping another trap, Yugi & his friends find the only remaining trace of the Pharaoh's name inscribed on the wall of the secret room. It was in ancient Egyptian hieroglyphics, so they could not read it, but they printed it in a necklace so that Yami Yugi could read it.
